How to Repair Hole in Roof?
Do you have a pesky hole in your roof causing leaks and headaches every time it rains? Don’t worry; you’re not alone! Roof damage is a common issue homeowners face, but the good news is that repairing a hole in your roof is a manageable task with the right know-how. But, “How to Repair Hole in Roof?”
In this comprehensive guide, we’ll walk you through the steps to fix that hole and restore your roof’s integrity.
Safety First, Superheroes Second
Now, before we grab our hammers and capes, safety is paramount. Scurry up onto the roof only if the weather permits (clear skies, no rain!), and ensure you have a reliable spotter holding the ladder steady. Proper footwear with a good grip is essential to avoid becoming a human slip-and-slide.
Identifying the Enemy: What Kind of Hole Are We Dealing With?
Alright, with safety in check, let’s assess the situation. Is it a single, wayward shingle missing or a gaping chasm courtesy of a rogue tree branch? Here’s a breakdown of the two main culprits:
- Missing Shingle: A relatively minor offender. You might just need to replace the missing shingle and reseal the surrounding area.
- Larger Hole: This could involve damaged underlayment (the layer beneath the shingles) and possibly even the roof deck (the wooden base). Here’s where things get a bit more complex.
Gathering Your Arsenal: Tools and Materials
Even the handiest homeowner needs the right tools for the job. Here’s a basic checklist to get you started:
- Safety Gear: Sturdy work gloves, safety glasses, and a properly secured ladder are non-negotiable.
- Prying Tools: A flat pry bar is your friend for removing shingles without damaging surrounding ones.
- Cutting Tools: Utility knife, circular saw (for larger jobs).
- Hammer and Nails: This is used for securing new shingles and underlayment.
- Roofing Cement: Seals the deal (literally) and prevents leaks.
- Replacement Shingles: Make sure they match your existing roof for a seamless look.
- Underlayment (optional): If the existing underlayment is damaged, you’ll need a waterproof replacement.
- Plywood (optional): In case the roof deck itself is compromised, new plywood might be necessary.
Mission: Patch Up! A Step-by-Step Guide
Now for the fun part (well, as fun as roof repair can be). Here’s a breakdown of the process:
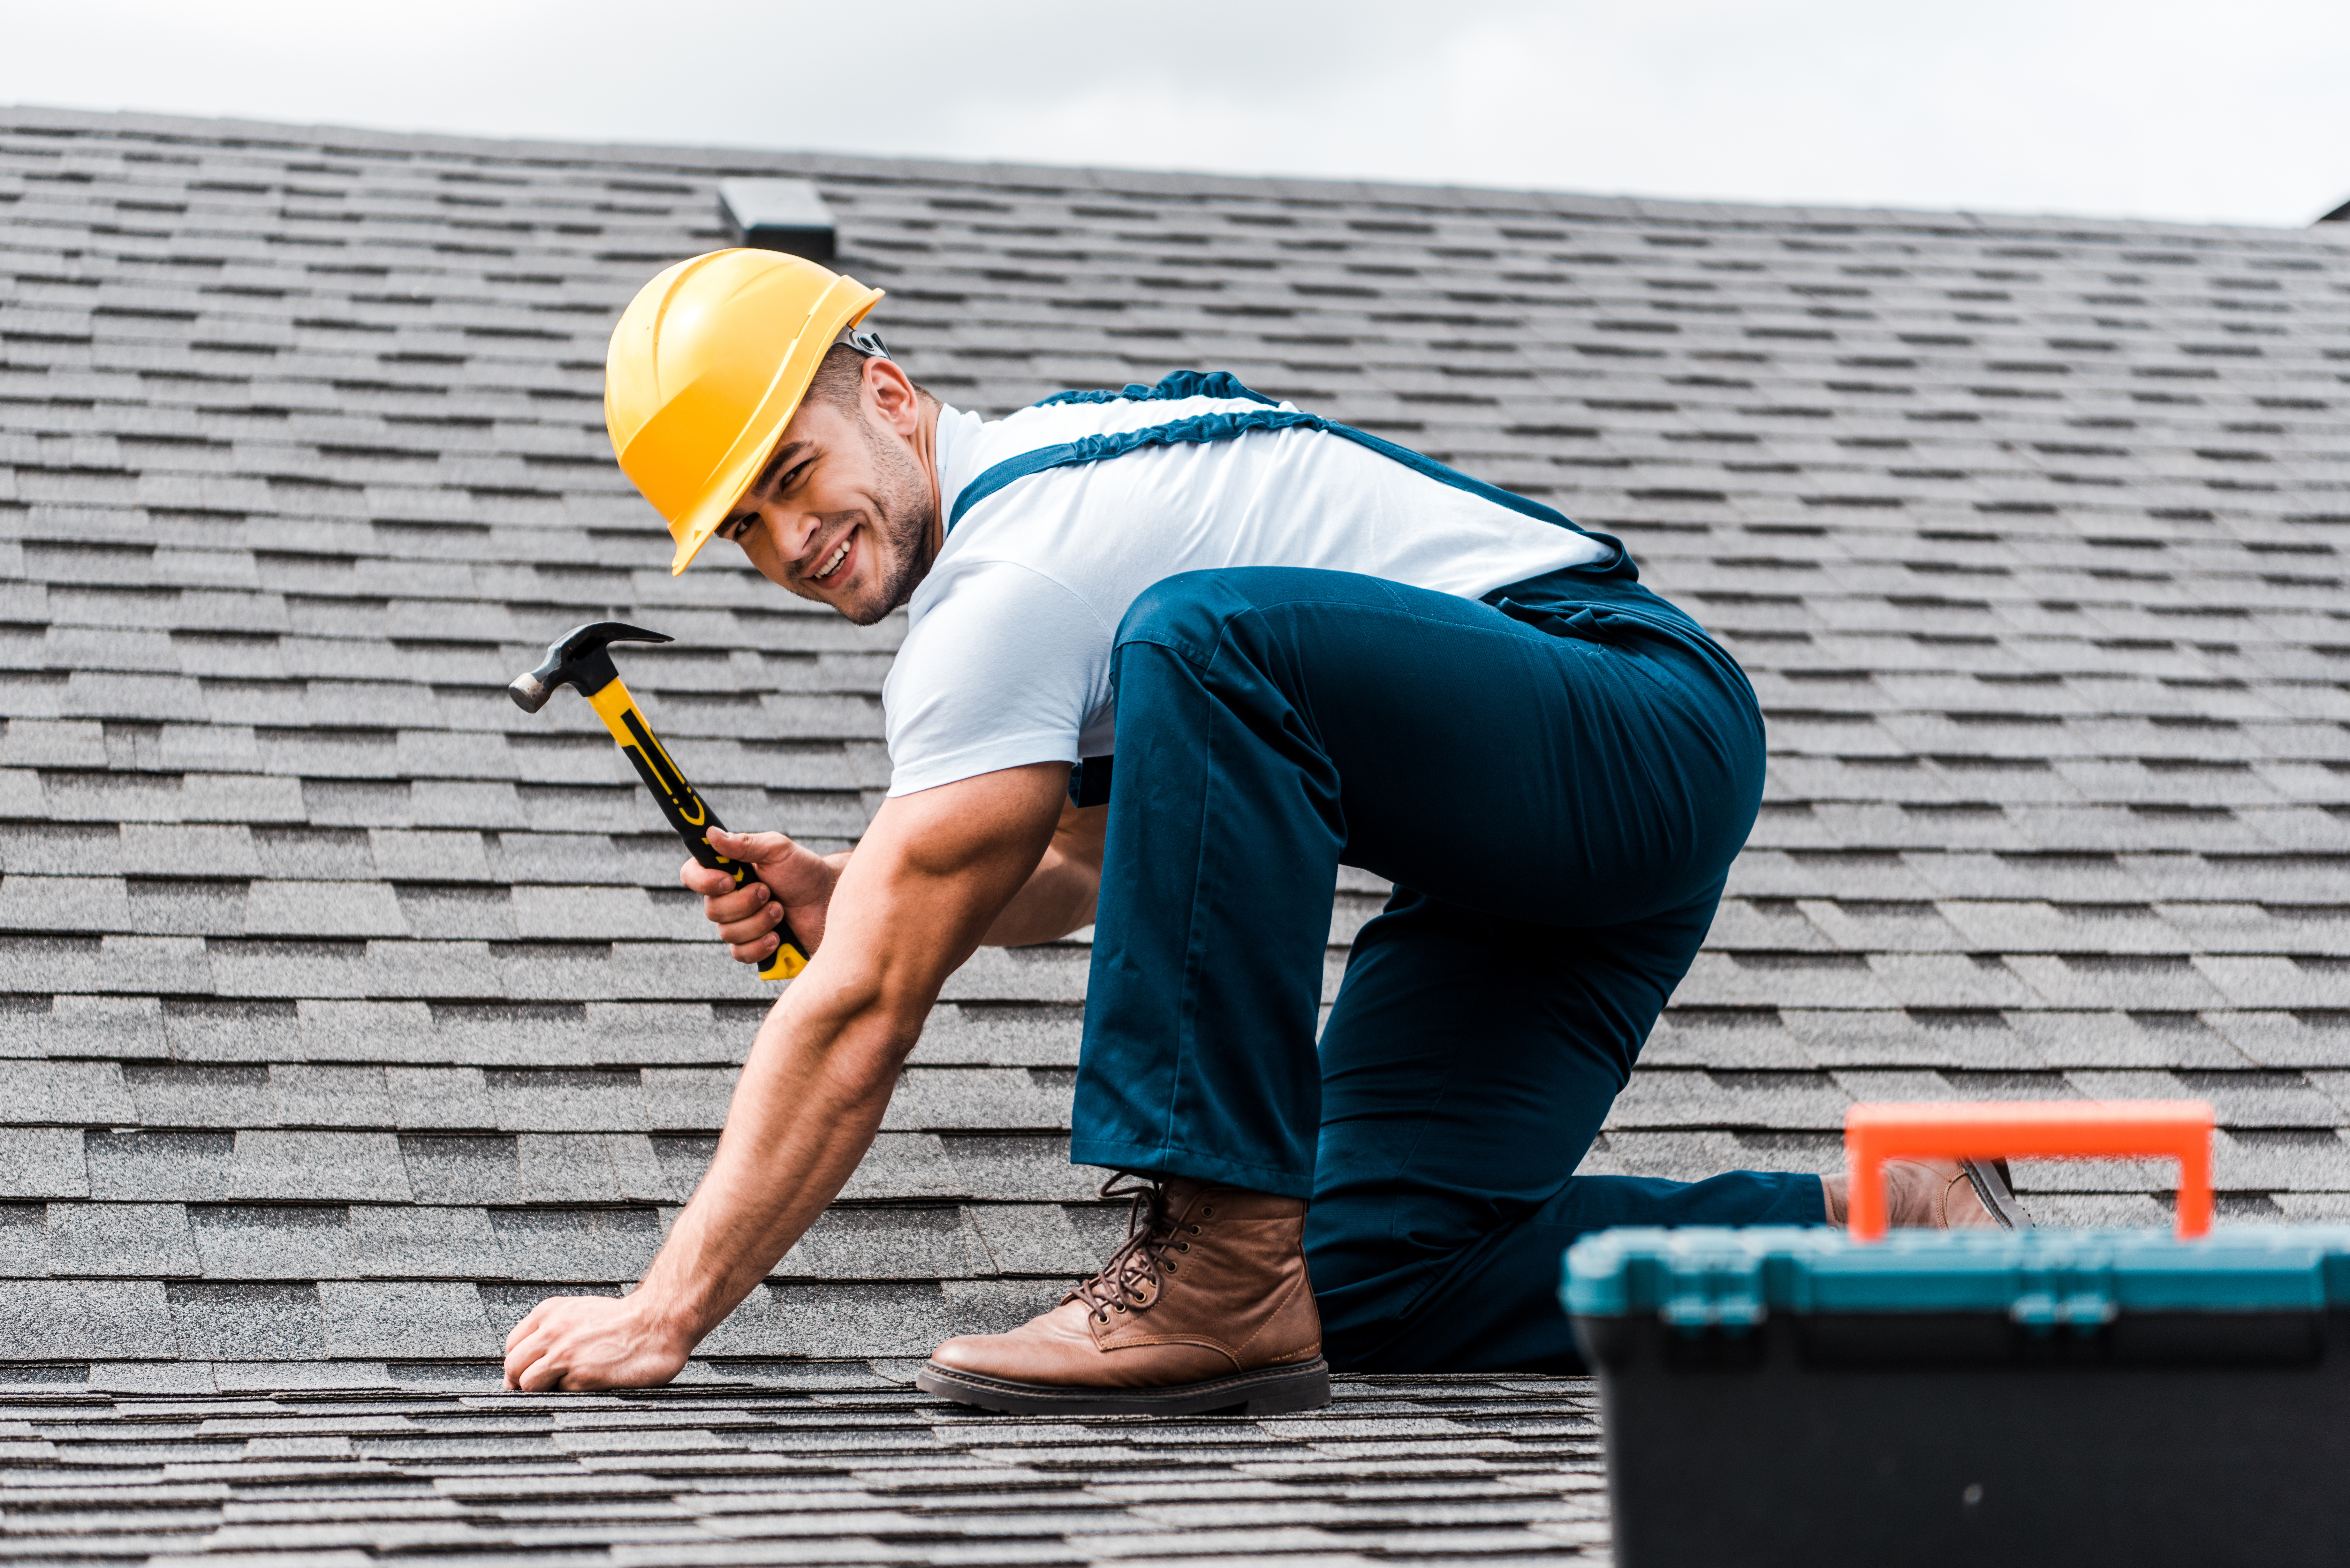
- Locating the Leak: Crawl into your attic and follow any water stains to pinpoint the exact location of the hole on the roof.
- Shingle Removal: Starting from the top row above the hole, carefully pry off the shingles using your trusty pry bar. Work your way down, removing just enough shingles to expose the damaged area.
- Underlayment Check: Inspect the underlayment for tears or punctures. If it’s damaged, carefully remove it and replace it with a waterproof material.
- Assessing the Roof Deck: This is where you might need to call in a professional for bigger holes. If a section of the roof deck is rotten or damaged, it needs to be replaced with new plywood.
- Shingle Replacement: Slide the new shingle under the course above it and secure it with roofing nails. Overlap the bottom edge of the new shingle with the shingle below it, following the established pattern.
- Sealing the Deal: Apply a generous amount of roofing cement around the edges of the new shingle and any exposed nail heads. This waterproofing layer is crucial to prevent future leaks.
- Shingle by Shingle: Work your way back up, replacing the shingles you removed in step 2, following the same overlapping pattern.
Call in the Cavalry (When in Doubt)
Remember, this guide is for minor roof repairs. If you’re dealing with a large hole or extensive damage or feel uncomfortable tackling the project yourself, don’t hesitate to call in a professional roofer. Their expertise can save you time, money, and a whole lot of stress (and potential water damage) in the long run.
Keeping Your Roof Shipshape: Preventative Maintenance Tips
An ounce of prevention is definitely worth a pound of (roof) repair! Here are some simple tips to keep your roof in tip-top condition:
- Regular Inspections: Twice a year, take a walk around your house and visually inspect your roof for missing or damaged shingles, loose flashing, or any signs of debris build-up.
- Trim Those Branches: Overhanging tree branches can scrape and damage shingles over time. Keep them trimmed a safe distance from your roof to prevent unnecessary wear and tear.
- Clean Gutters: Clogged gutters can lead to water backup, causing damage to your roof and the interior of your home. Clean gutters regularly to ensure proper drainage.
- Check for Leaks: After heavy rains or storms, inspect your attic for any signs of leaks or water damage. Addressing leaks promptly can prevent further issues.
- Maintain Ventilation: Proper attic ventilation helps regulate temperature and moisture levels, reducing the risk of roof damage due to heat and humidity.
- Schedule Professional Inspections: Consider hiring a roofing professional to conduct annual inspections and maintenance. They can identify potential problems early and recommend necessary repairs or replacements.
By following these preventative maintenance tips, you can prolong the lifespan of your roof and minimize the need for costly repairs down the road. Remember, a well-maintained roof is key to protecting your home and everything inside it.
When the DIY Dream Becomes a Roofing Nightmare
While patching a small hole might be a manageable DIY project, there are situations where calling in a professional roofer is the smarter (and safer) option. Here are some red flags:
- Extensive Damage: If the hole is large or there’s widespread damage to the underlayment or roof deck, a professional’s expertise and equipment are crucial for proper repair.
- Steep Roof Pitch: Working on a steep roof is dangerous, especially for inexperienced DIYers. Leave it to the pros who have the safety gear and experience to navigate such inclines.
- Flashing Repair: Repairing or replacing flashing requires specialized knowledge and techniques to ensure a watertight seal.
Remember, your roof is the shield that protects your entire home. Don’t be afraid to call in a professional if a project feels too complex or unsafe to tackle yourself. A properly repaired roof will not only prevent leaks and water damage but also add value to your home and give you peace of mind for years to come.
Are you curious about: “How Long Does It Take to Repair a Roof?” Visit our blog page today to learn all about it!
DVR Roofing: Your Roofing Superhero
DVR Roofing isn’t your average roofing company. They’re a team of certified, highly skilled roofers in Maple with a genuine passion for keeping your home safe and dry. Whether you’re facing a minor leak or a roofing disaster of epic proportions, they have the expertise and equipment to handle it all.
Their commitment to quality goes beyond just patching up holes. They use only top-of-the-line materials and industry best practices to ensure your roof repair is built to last. They’ll thoroughly inspect your roof, identify the root cause of the problem, and provide you with a transparent, upfront quote before they even pick up a hammer.
So ditch the stress and the DIY tutorials – DVR Roofing is your one-stop shop for all your Maple roof repair needs. Let their team of superheroes handle the heavy lifting (literally!) while you sit back, relax, and enjoy the peace of mind that comes with a watertight roof. Don’t wait for a small leak to turn into a major headache – contact DVR Roofing today and let them be your personal roofing hero!

Have you ever found yourself staring at your ceiling, noticing a pesky leak or a light patch that wasn’t there before, and thought, “How Long Does It…
A well-maintained roof is crucial for a secure and comfortable home, and timely repairs play a pivotal role in ensuring its longevity. In this guide,…